As another way of improving and refining my editing skills I decided to produce a short edit in the style my favourite visual editor on youtube; JR Alli.
JR Alli produces videos ranging from 1-2 minutes which include high amounts of attention to detail. His edits focus of quality rather than quantity and take a long time to produce his desired effects. He focuses on audio production in his videos which overall tie his videos together more and in turn make it more cohesive.
One particular audio trick he applies to his edits is positioned very carefully within each shot. An example of this; a bicycle bell sounds just before the transition into the next shot where a bike appears to be passing by. The use of applying the sound effect before the actual shot of the bike makes the shots seem extremely interwoven and carefully planned, creating a professional and unified visual style.
Here is one of his videos. After Effects is soley used for his edits in order for him to be able to manipulate his shots easier. Some of the shots I wanted to emulate were his fast paced hyperlapses. This can easily be achieved by using a gimbal as it keeps the camera in a static position whilst still moving closer to the subject.
Tranistions are a very important part of his editing style which make him stand out. He uses a variotion of presets and custom masking transitions in each individual shot to make his videos flow in the way he chooses. Masking is cleverly used to combine shots and is also used in place of transitions in certain shots.
My Emulation:
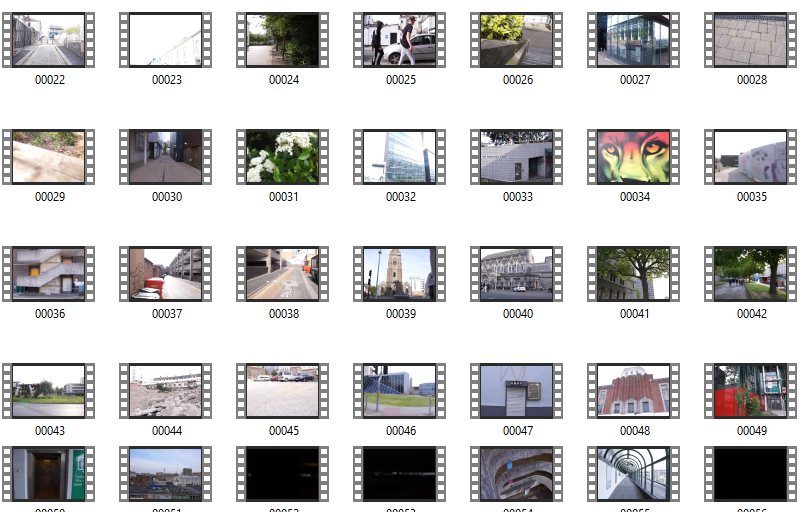
In order to emulate his shots I used a combination of my gimbal paired with Lily’s Sony a6000 and Sigma F1.4 DN Lens. I spent an evening in Plymouth filming varying shots and filming styles including; hyperlapses, panning, tilting and sliding movements. Most of my footage consists of architectural shots as I had no models or other subjects I could shoot in the city at that time. Some of the landscape shots panning across the city were interesting especially since they were shot from a high location.
Here is the video I have produced in order to further refine my skills with audio and video manipulation.
After shooting approximately 45 minutes of footage across that night it was time to start editing and condesing the footage into something much more watchable and interesting. I shortlisted my favoutite clips and then cut each one into 5-10 seconds of footage and added it to my timeline. When it comes to my edits I like for them to be coherent and fit together, even if there is no direct story being told. The reason for this is that the video has some sort of meaning or something which the audience wishes to explore by watching.
Next I worked on choosing a song beat which I felt fit the visual style I was looking for. Similar to the live session videos I wanted to produce something with a slower tempo and a chilled vibe, rather than hectic and face paced. The reason for this choice was that most of the footage wasn’t extremely dramatic and therefore would not match or resonate with intense music.
A youtube channel by the name of Fluidified I came across whilst searching for a fitting song for my edit. They proudly boast having the best enjoyed and chilled songs on youtube and this helped to refine my choices as the genre of music had been narrowed down into a small place for me to file through. After listening to many songs I came to a desicion on three different songs.
Music:
The first was “The only thing” by Phelian.
The reason i felt this was a good choice was, however the voices in the background i felt interrupted with the flow of the music and therefore made it unappealing to me in some aspects.
Another song in my list was Alone by Viren.
The main reason this song didn’t fit particularly well is because of the raindrops and ambient weather noises in the background. The footage I filmed did not include any dramatic weather or rain and would therefore make the video confusing or not make sense if there was audio but no footage of rain.
The song I finally chose was called “Way” by Ennja.
The crackling at the start of the audio track also creates a vintage looking sound which could be paired with digital noise or scratches in the edit to further engage the viewer within the video. Another thing I really liked about this piece of music was how tension was built very slowly and had minimal amount of vocals. The audio is a very important factor when pairing it with a chosen visual style as two contrasting pieces of art can often clash depending on how each style is carried out.
The swooping sounds before a hit-hat allowed enough time for me to add footage which was synced to the beat to create a more cohesive edit which is both appealing to the eyes and ears. Another factor which went into choosing the music was how similar it sounded to JR Alli’s piece.
This was the final timeline after completing the edit.
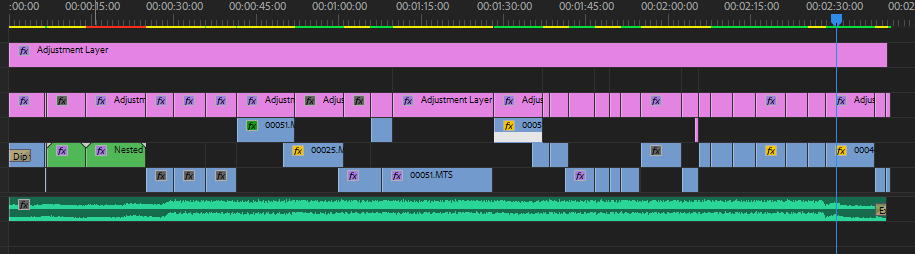
The editing process contained three main elements. The first being organising the footage into a coherent order I was pleased with as mentioned above. The second was to add transitions to each of those shots, whether they were masked, presets or just simple cuts. And the third was adding colour grading and warp stabilisation to any clips that needed it. Overall this process took a few hours as I wanted to keep perfecting each scene until I felt there were little to no mistakes or inadequacies.
Fffects and transitions:
The transitions and effects I used in this edit were; colour tint, glitch transitions, warp stabilisation, luma keying, fading, masking and many other directional blur transitions.
I researched on YouTube free preset packs to use in my edit to stylise the transitions in a similar way to JR Alli.
In this pack which I downloaded by entering my email I added this to the presets bin in Premiere and starting playing around and applying transitions I felt were most effective at conveying a professional yet calm looking visual style.
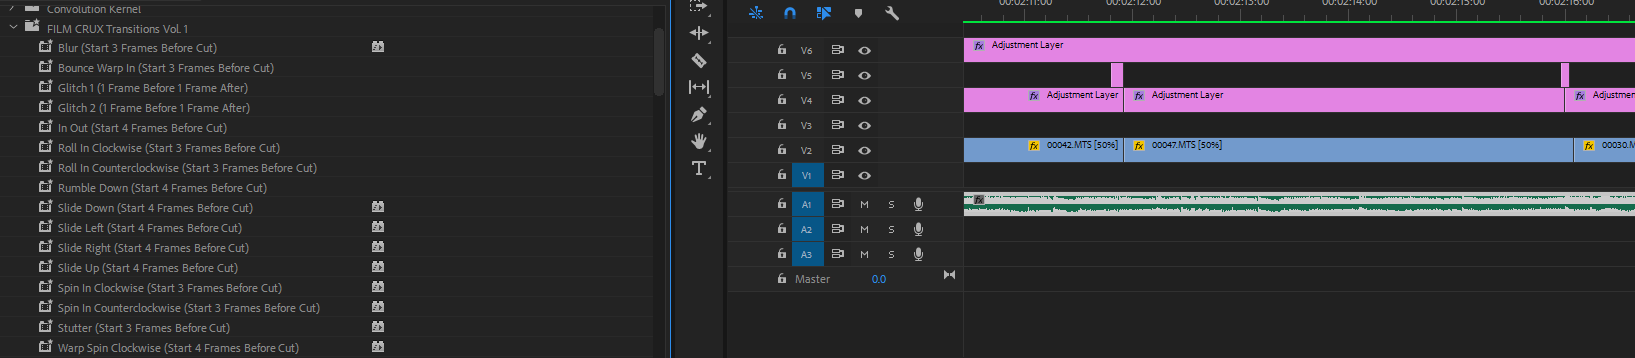
To add these effects it stated I should add the adjustment layer a few frames before or after each cut to get the desired effect. You can see in my timeline the short pink adjustment layers covering the area just before the cuts to apply the transition. These presets added predetermined keyframes for the speed of zooming, directional blurs and movement to create interesting looking results.
One of my favourite transitions in this edit is the use of masking. Masking is selecting an area in the frame in which you want to apply another layer or effect. In my edit I use the red van passing by as a transition by masking the background of another layer to the shape of the van to make the greenery appear from behind it.
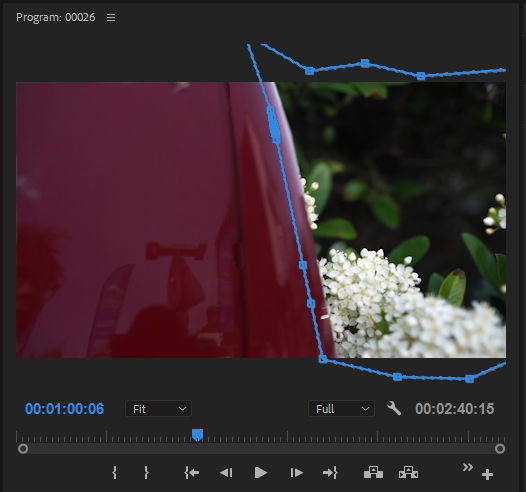
I used key frames to adjust the mask’s in order for it to fit the shape of the vehicle.
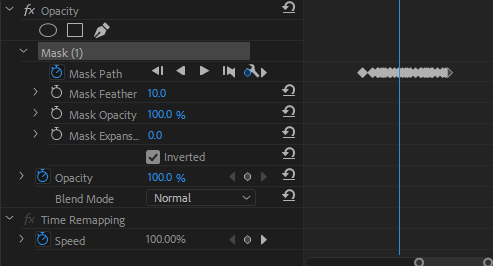
Here you can see the key frames of the mask. In the edit timeline (pictured below) you can see the layer above the video of the greenery. This is why the mask is so important to allow for both clips to be shown at the same time.

Colour Grading:
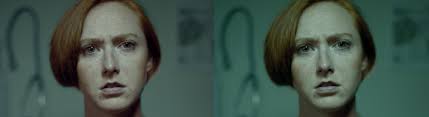
In this edit I had to add a lot of colour balancing and exposure adjusting in order to get the lightness and tints I wanted. Here are a few screenshots of before and after images of colour grading and basic correction.
Before: After:
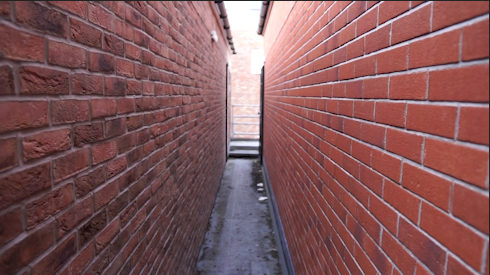
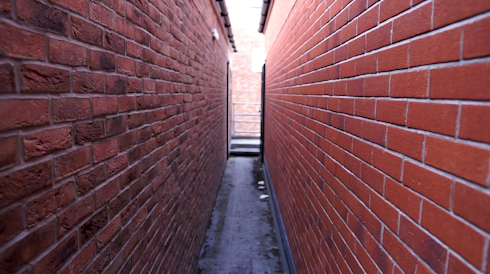
You can see by adjusting the shadows and exposure of the image, there is more definition in the background and the walls on either side have more contrast and deeper values overall making the shot look more impressive.
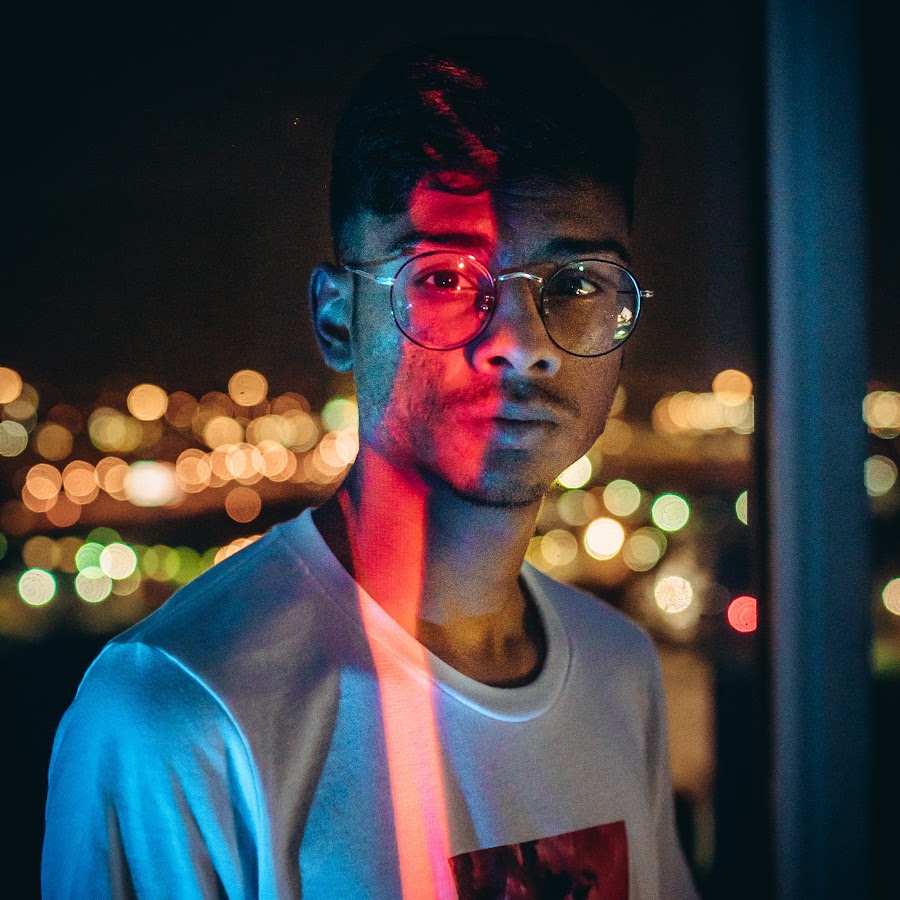
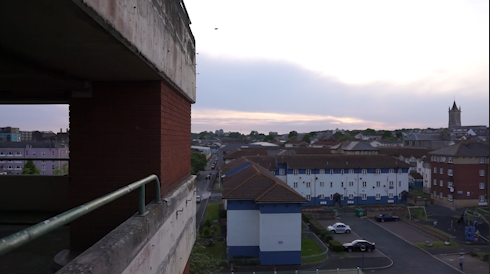
Before: After:


Here you can see again that there is a much higher dynamic range in the shot which makes it more visualising appealing. The colours of the grime on the walls is also more pronounced which add texture to the shot. This added texture gives a rougher and more dramatic looking shot especially when combined with the high angle it is being shot from.
Before: After:

Whilst the shadows in this shot are slightly darkened from the exposure correction I think it creates more depth within the shot. The colours from a tint balance also “pop” and have a more defining edge to them. This once again creates a better aesthetic for the whole edit therefore making it more enjoyable and interesting to watch.
Edit Evaluation:
Overall I believe this edit was very successful at portraying Plymouth as a visually pleasing and interesting city. Also from creating this edit I have achieved my goals of researching and practising the art of colour grading, music selection and editing style.
References:
Ennja – Way. (2017). Available at: https://www.youtube.com/watch?v=HeBEwUkMQUo [Accessed 3 Jun. 2019].
YouTube. (2016). Phelian – The Only Thing. [online] Available at: https://www.youtube.com/watch?v=p-z2W5QULk8 [Accessed 3 Jun. 2019].
YouTube. (2017). Alone – Viren. [online] Available at: https://www.youtube.com/watch?v=xrdSf-omPhY [Accessed 3 Jun. 2019].